Developing with Swift in Visual Studio Code
Swift is a great language for developing applications for Apple platforms, and is easily set up using Xcode. However, Xcode is only available for macOS, and does not support a wide variety of extensions.
For this reason, many Server-Side Swift developers prefer to use Visual Studio Code for their development.
Visual Studio Code is a free and open-source code editor developed by Microsoft for Windows, Linux and macOS.
What are Dev Containers?
Dev Containers are a way to develop in a containerized environment. Containers are a way to package software in a format that can be run on any platform, such as Linux, macOS or Windows.
You can think of them as a lightweight alternative to virtual machines. In most of our tutorials, we’ll provide a dev container for you to use. This allows you to set up all prerequisites for a tutorial in a single step.
Prerequisites
First, download Visual Studio Code from https://code.visualstudio.com/download/ and install it for your platform.
Then, once Visual Studio Code is installed, download and install Docker. The easiest way is to use the Docker Desktop installer for your platform: https://www.docker.com/products/docker-desktop/
Finally, you’ll need to install the Dev Containers plugin for VSCode. This will allow you to open a project inside a Docker container, if it has a devcontainer bundled with it.
This tutorial has a sample project that you can use to test your setup.
Opening a Project
Make sure Docker (Desktop) is running, ready, and has sufficient resources allocated. You can do this by opening the Docker Desktop application and going to the “Resources” tab.
Swift needs at least 4GB of memory to compile, so make sure you have at least 4GB of memory allocated to Docker.
Open Visual Studio Code and click on the “Open Folder” button in the welcome screen. Select the folder containing the starter project.
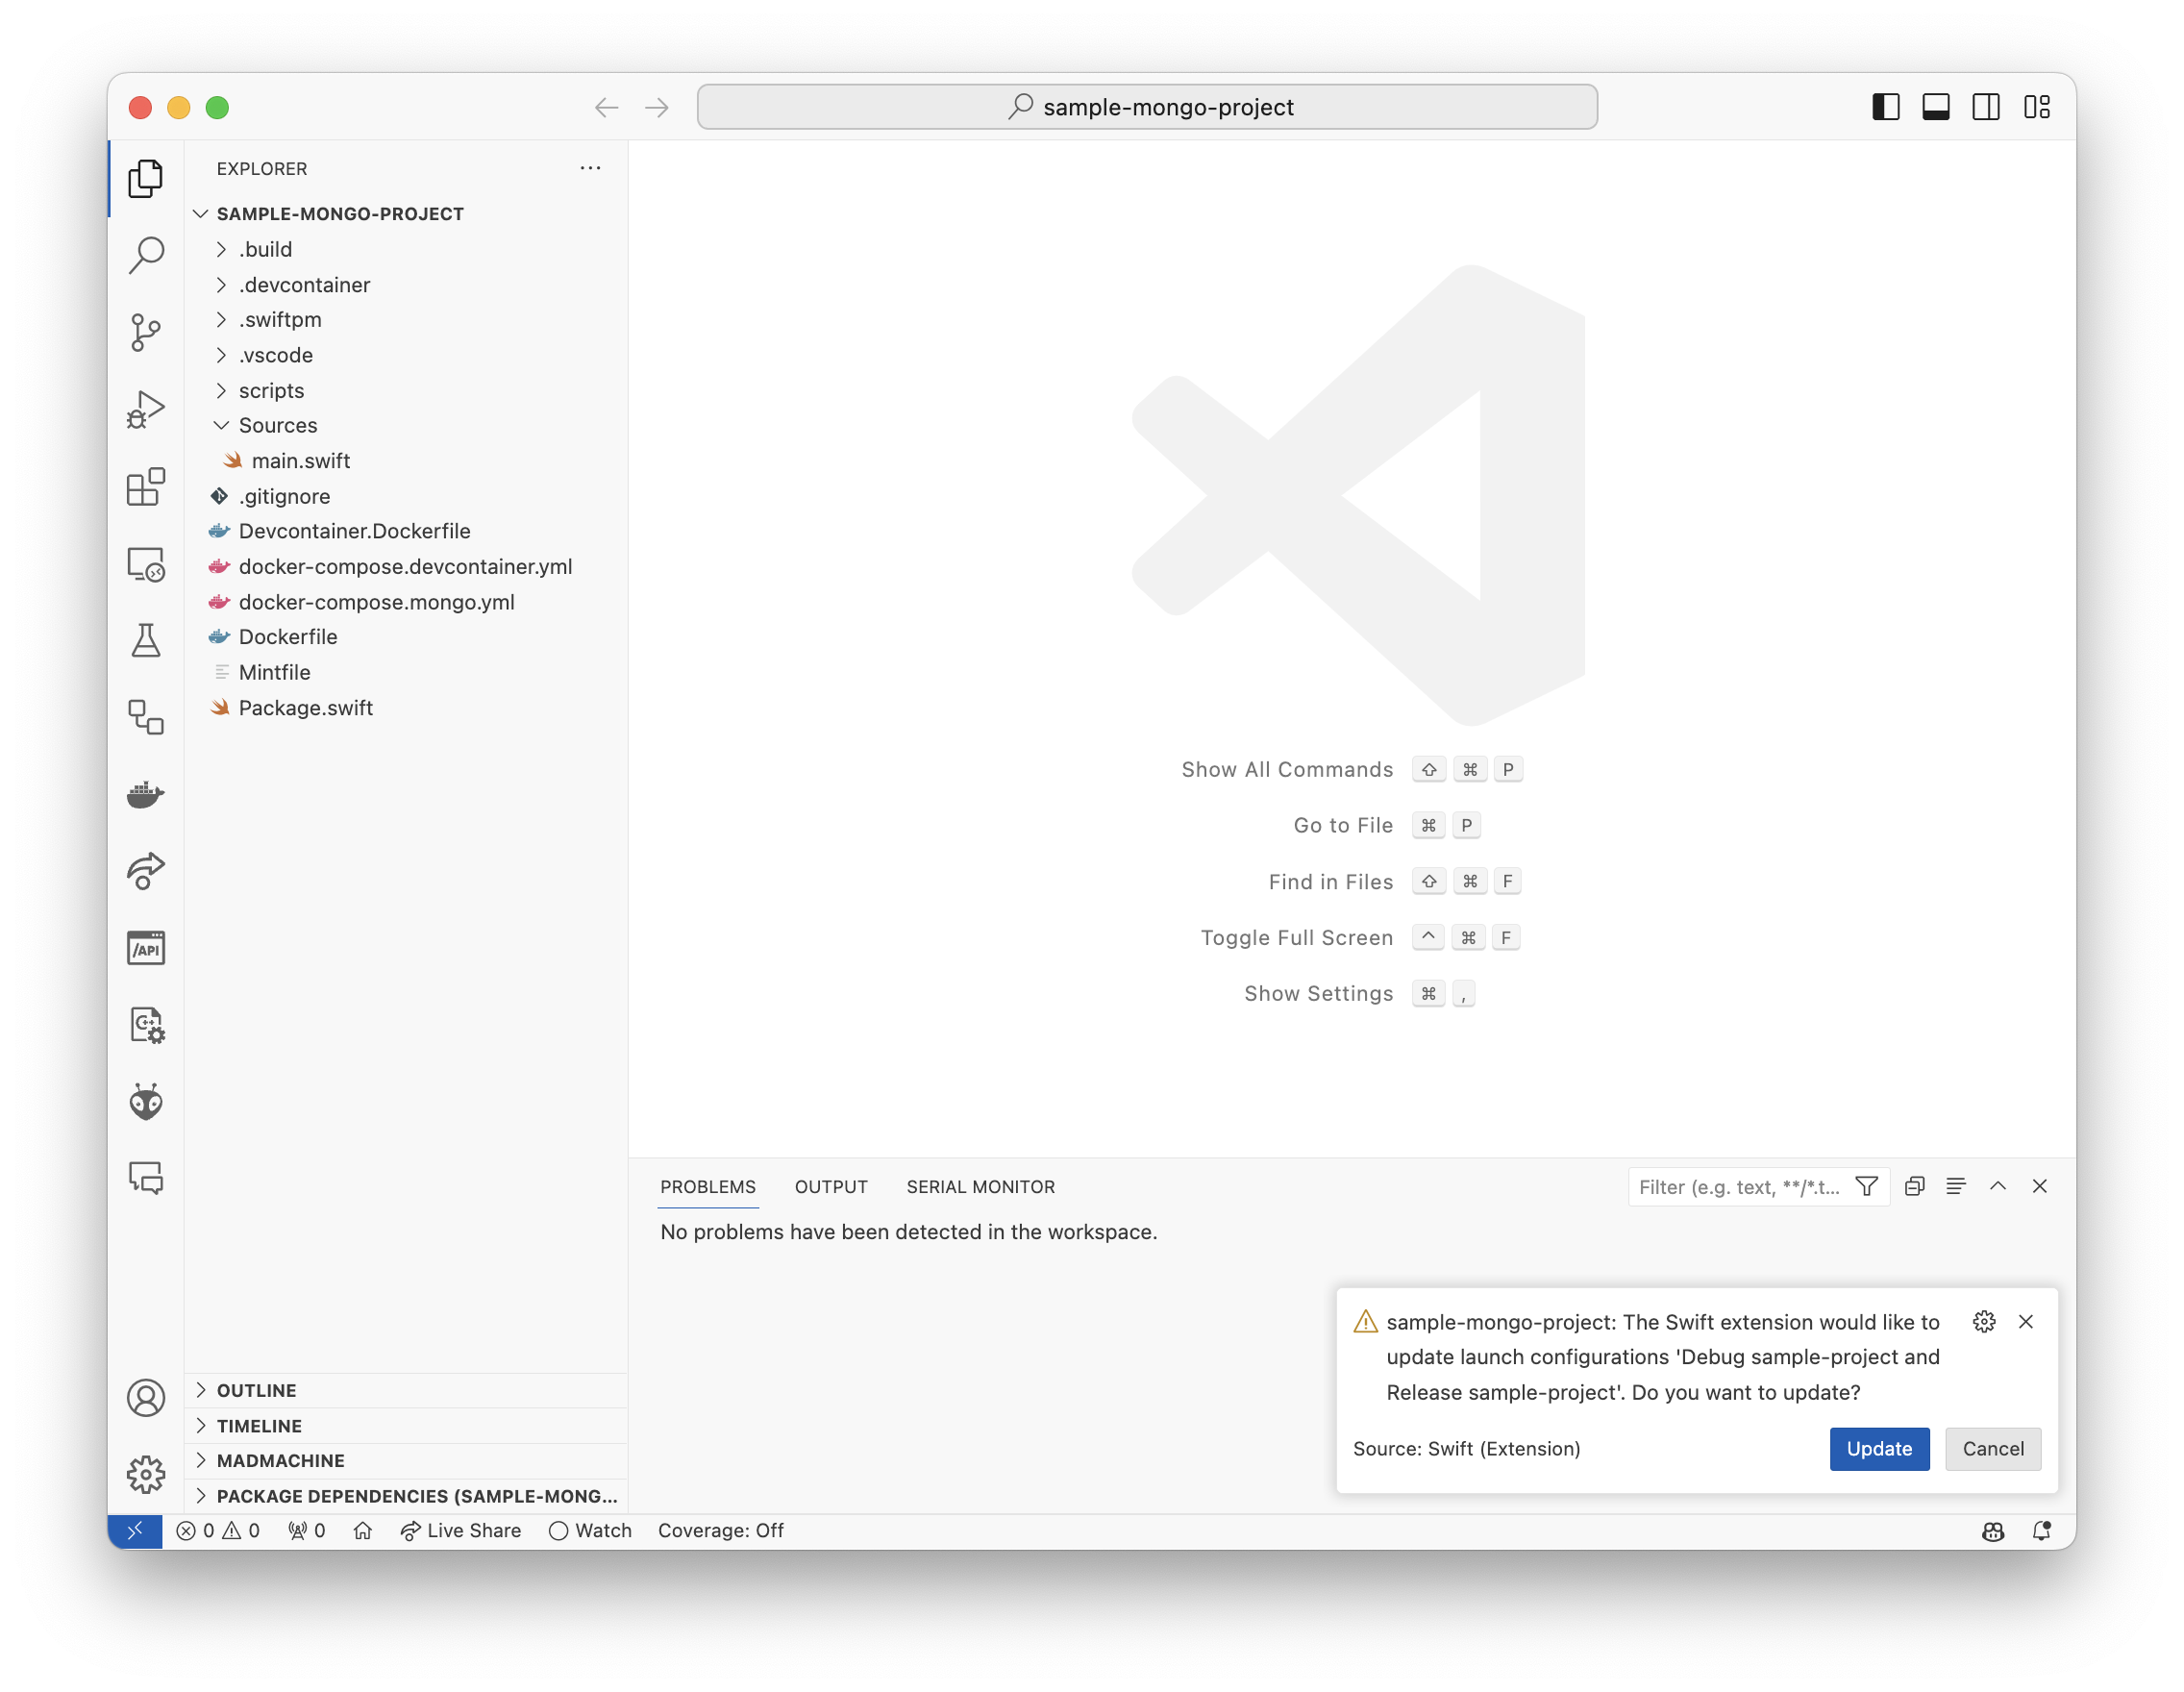
In the bottom-right of the window, you’ll see a blue button with the text “Reopen in Container”. Click on it to reopen the project in a Dev Container.
If you don’t see the button, you can also open the command palette (Ctrl+Shift+P on Windows/Linux, Cmd+Shift+P on macOS) and search for “Reopen in Container”.

Note: The image shows the “Update” button instead of the “Reopen in Container” button. This is because I already have the project open in a Dev Container.
Visual Studio Code will now start downloading or building the Dev Container. This may take a while, as it needs to download the Swift toolchain and other dependencies.
Once it’s done, you’ll see a new window with the project open. You can now start developing!
Running the Code
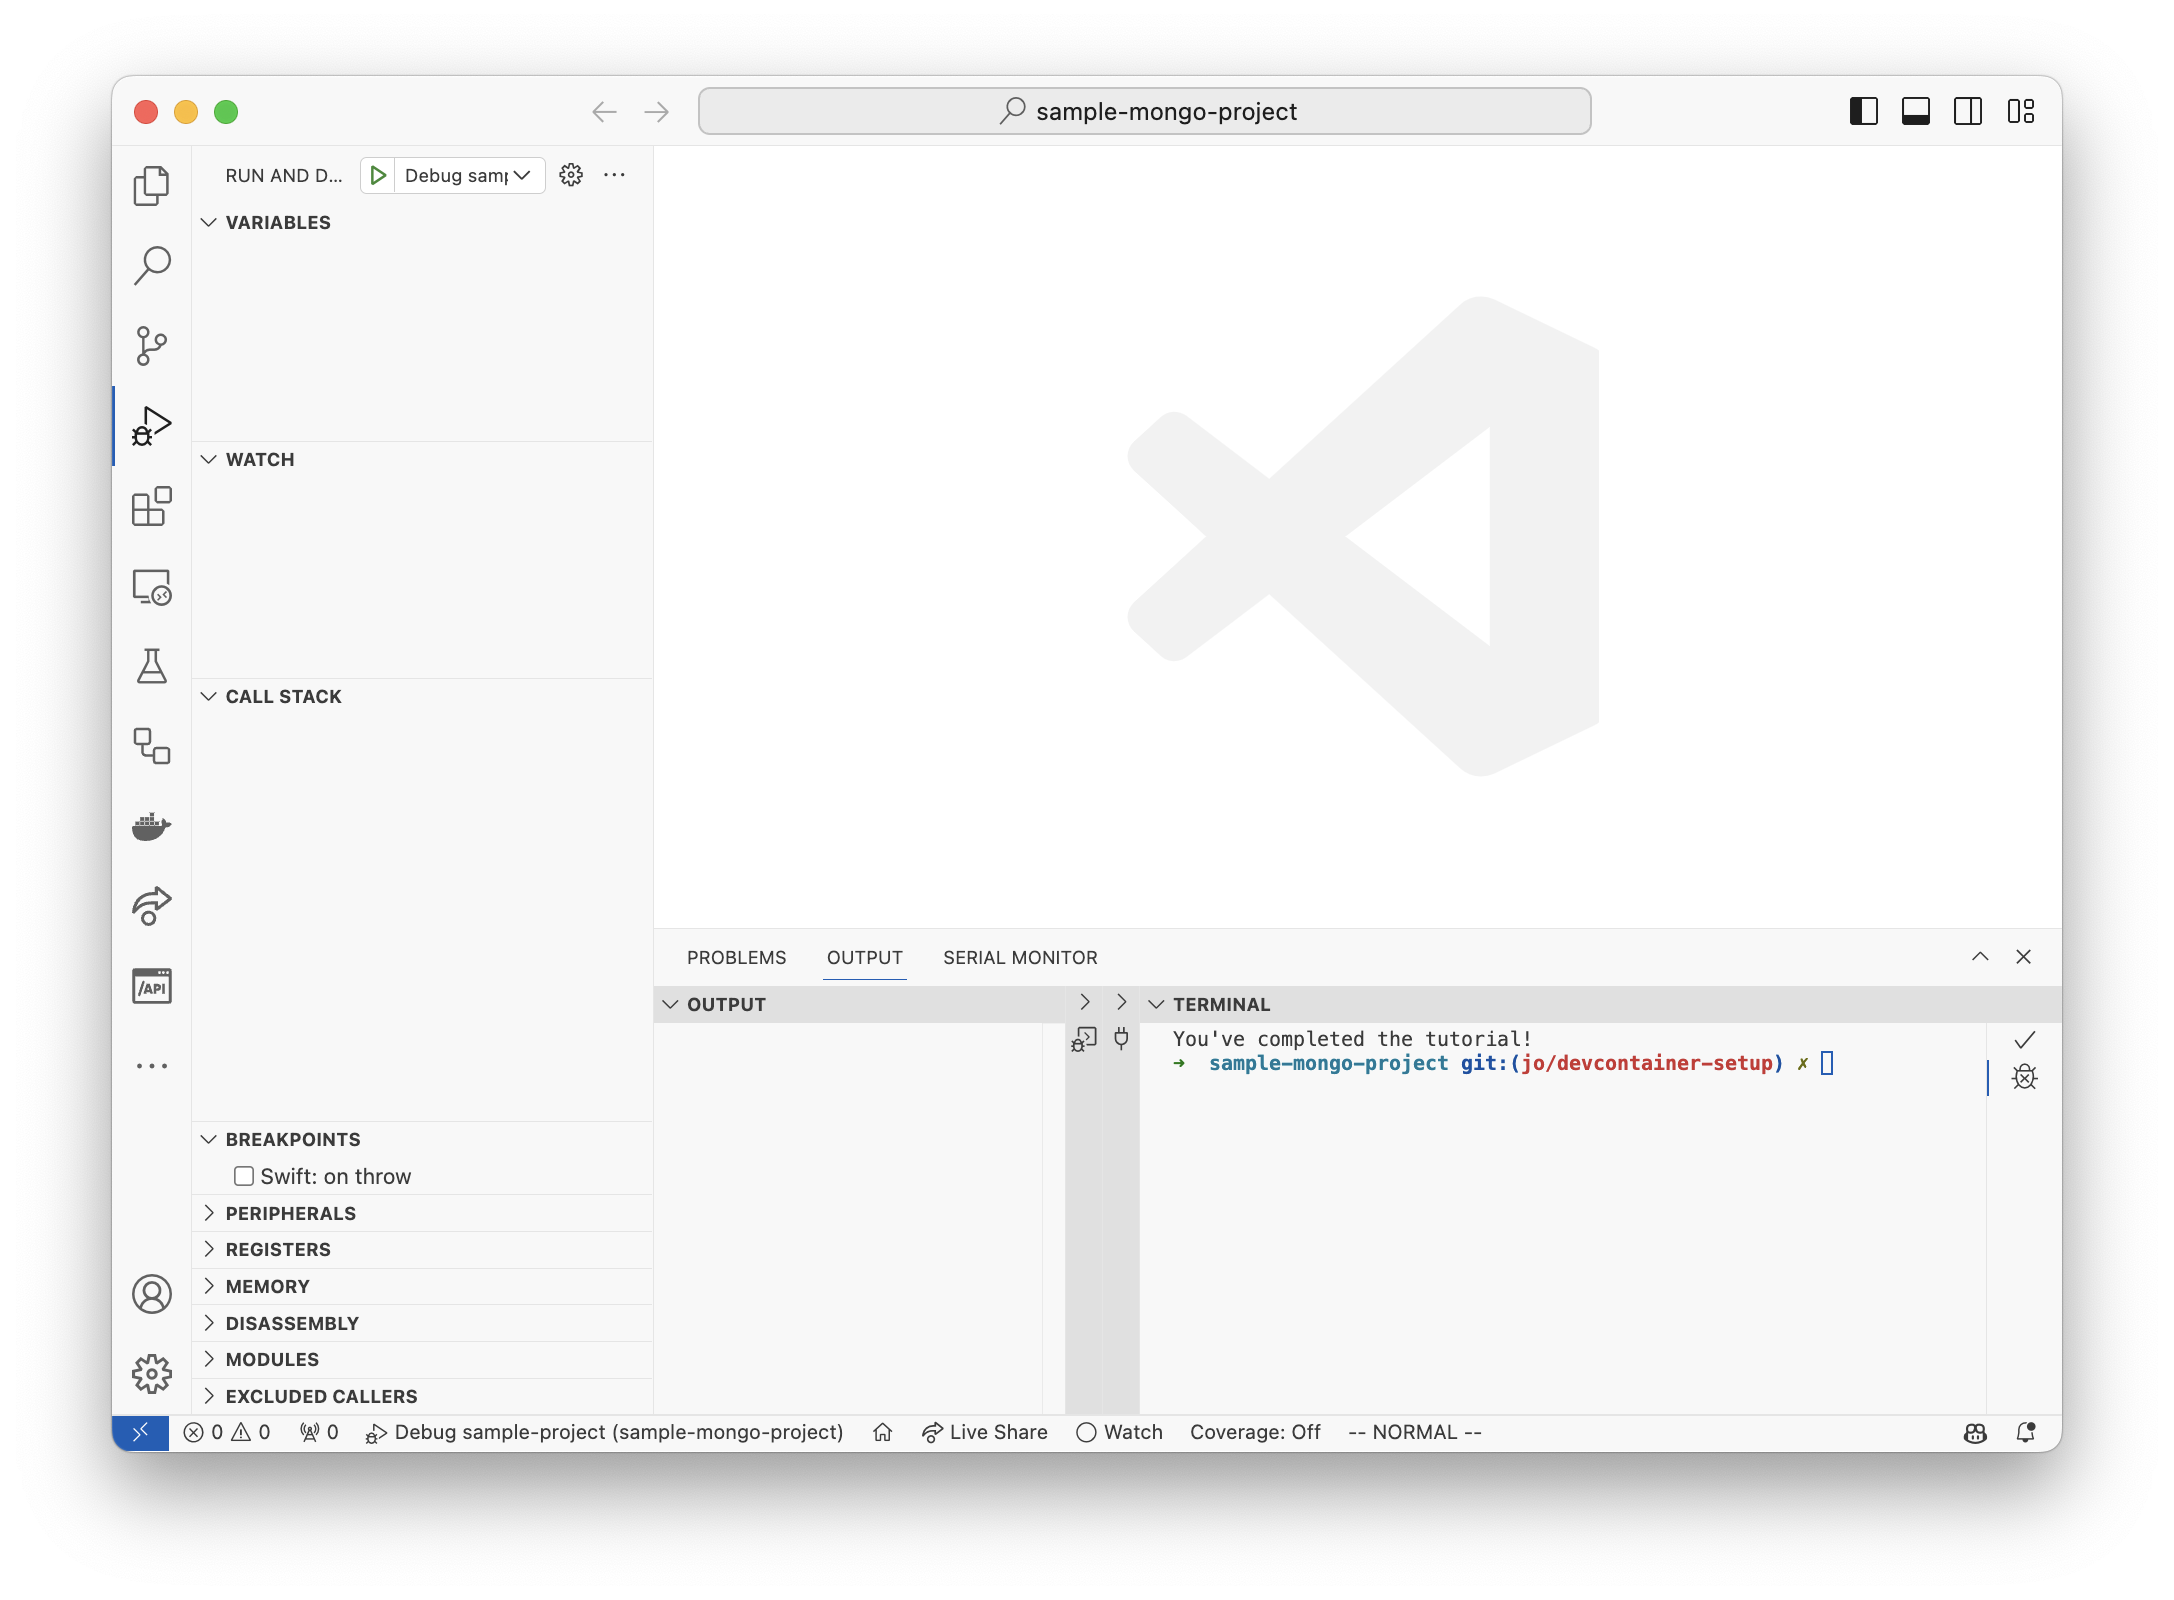
In the left sidebar, you’ll see a “Run and Debug” tab. Click on it to open the Run view. You’ll see a “Run” button with a green arrow. Click on it to run the project.
Tip: Press Cmd + Shift + D on macOS or Ctrl + Shift + D on Windows/Linux to open the Run view.
On the bottom-right of the window, you’ll see a terminal window pop up. This is the terminal inside the Dev Container, and shows the output of the program.
You can also find the debugger right next to that terminal window, which has LLDB integration.
Once the program is done running, you’ll see the output in the terminal window:

If it’s not visible for you, open the Output tab on the bottom of the window. You can open it using Cmd + Shift + U on macOS or Ctrl + Shift + U on Windows/Linux.
The output pane should be a split view, with a Terminal section on the right. If it’s minimized, you’ll see a small arrow on the right side of the window. Click on it to expand the window.
If you see the above output, congratulations! You’ve successfully set up your development environment for Swift development using Visual Studio Code and Dev Containers.
Related posts
Faster GitHub Actions CI for Swift Projects
How we reduced Vapor’s Penny Bot CI times to go from 10 and 14.5 minutes to 4 and 3 minutes.
Getting Started with Swift Package Manager
Learn how to create and manage Swift packages with SwiftPM.
Useful scripts for server-side Swift
Learn about shell scripts to enforce coding standards and conduct checks for backend Swift projects.
Environment Variables in Swift
Explore the importance of environment variables in Swift and how to use them.
Logging for server-side Swift apps
Discover how to integrate the Logging library into an application, use various log levels, and tailor the unified logging API for backend projects.


